Table of contents
There’s something magical about watching a child’s face light up when they see a plate of colorful, googly-eyed treats staring back at them. These monster cookies have been stealing hearts in my kitchen for years now, and I can’t tell you how many times I’ve watched grandparents giggle just as much as their grandkids when these little creatures come out of the oven.
I discovered this recipe during one of those rainy Saturday afternoons when my neighbor’s kids were over, and we needed something fun to do together. What started as a simple baking project turned into the most joyful chaos – flour everywhere, food coloring on little fingers, and the sweetest laughter filling my kitchen. This one’s close to my heart because it reminds me that the best recipes aren’t just about feeding people; they’re about creating moments that stick with you long after the last crumb is gone.
These aren’t your fancy bakery cookies – they’re something even better. They’re full of love, easy enough for little hands to help with, and guaranteed to bring smiles to faces of every age.
Table talk
with Michelle!
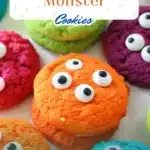
Colorful Monster Cookies Recipe are playful, colorful, and always bring smiles to the table. I’ve made them countless times, and they never fail to impress—simple, fun, and irresistibly delicious!
Michelle
Why You’ll Love This Monster Cookie Recipe
First off, you can make this – I promise. These colorful monster cookies start with a simple cake mix base, which means you’re already halfway to success before you even turn on your mixer. There’s no complicated technique here, just good old-fashioned fun in the kitchen.
What I love most about these treats is how they bring generations together. I’ve watched teenagers put down their phones to help roll cookie dough, and seen grandpas carefully placing candy eyeballs with the concentration of a surgeon. These cookies don’t just taste good – they create connections.
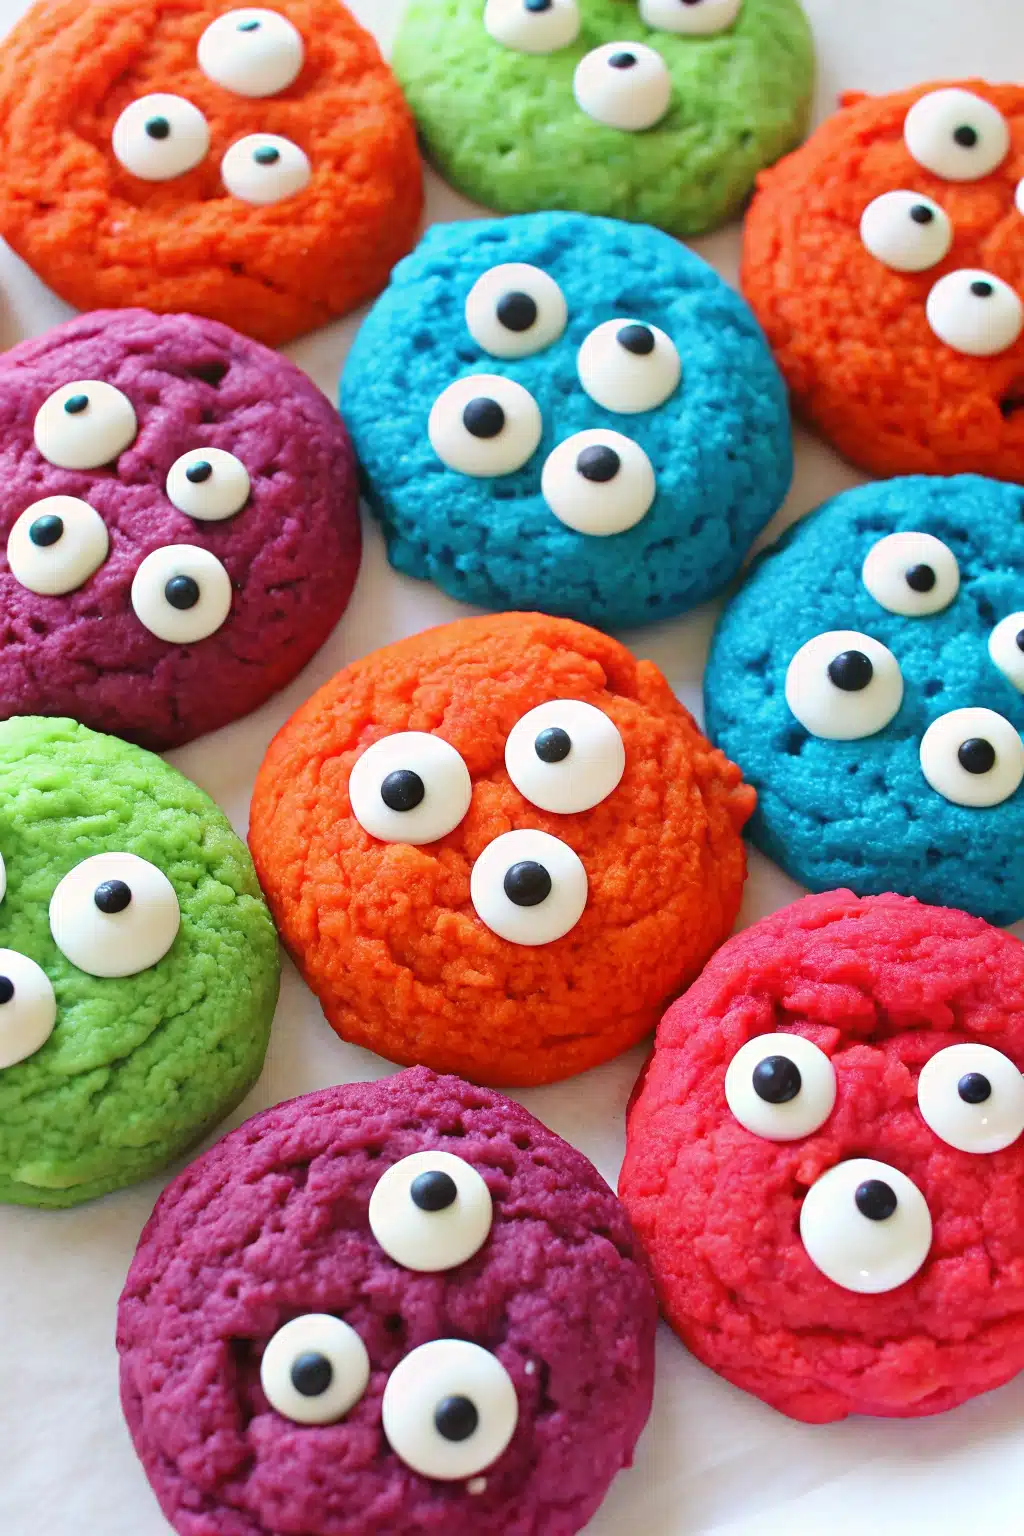
The vibrant colors make every batch feel like a celebration, and trust me, your kitchen will smell absolutely divine while they’re baking. Plus, they’re perfectly soft and chewy with that delightful cream cheese tang that keeps everyone coming back for more.
What You’ll Need
Let me walk you through what goes into these delightful little monsters. The beauty of this recipe is in its simplicity – most of these ingredients are probably already waiting in your pantry.
- 1 box white cake mix – This is our foundation, and it’s what makes these cookies so wonderfully soft. Any brand works beautifully.
- 1/2 cup butter, softened – Make sure it’s nice and soft so it creams perfectly with our other ingredients.
- 1/2 teaspoon vanilla extract – Pure vanilla makes all the difference in flavor.
- 8 oz cream cheese, softened – This creates that tender, almost cake-like texture that makes these cookies special.
- 1 egg – Room temperature works best for smooth mixing.
- Powdered sugar – For rolling our cookie balls and creating that sweet, snowy coating.
- Food coloring – I love using neon colors to make them extra vibrant and fun. Gel coloring works wonderfully too.
- Candy eyeballs – These little guys turn simple cookies into adorable monsters that’ll make everyone smile.
Let’s Make It Together
Now comes the fun part – bringing these colorful creatures to life. Don’t worry if this is your first time making monster cookies; I’ll walk you through every step.
- Beat your softened butter, vanilla, egg, and cream cheese together until the mixture becomes light and fluffy. This usually takes about 3-4 minutes with an electric mixer.
- Mix in the cake mix gradually until everything comes together into a soft dough. Now divide this batter into separate bowls – one for each color you want to create.
- Add food coloring to each bowl, mixing until the colors are vibrant and evenly distributed. This is where kids love to help – just be ready for colorful fingers!
- Chill your colored dough for 30 minutes. This makes rolling so much easier and helps the cookies hold their shape.
- Roll the chilled dough into small balls, then gently roll each one in powdered sugar for that perfect sweet coating.
- Place your sugar-coated balls on a greased cookie sheet and gently pat them down just a bit – not too flat, we want them nice and thick.
- Bake at 350°F for 10-12 minutes. You’ll know they’re ready when the edges are just set but the centers still look soft.
- Add those candy eyeballs while the cookies are still warm – they’ll stick perfectly and give each cookie its own personality.
Serving Suggestions
These cheerful monster cookies are perfect for so many occasions. I love serving them at birthday parties where they become instant conversation starters. Pack them in lunch boxes for a sweet surprise that’ll make any day brighter.
During Halloween, they’re absolutely perfect alongside other spooky treats. But honestly, these colorful little monsters bring joy any time of year. Try arranging them on a platter with different colored monsters grouped together – it creates such a fun, festive display.
For special occasions, you can even customize the colors to match party themes or holidays. Pink and red for Valentine’s Day, pastels for Easter, or school colors for graduation parties.

Make It Your Own
The wonderful thing about this monster cookie recipe is how adaptable it is to your family’s needs and preferences.
Flavor variations – Try adding a teaspoon of almond extract instead of vanilla for a different flavor profile.
Chocolate lovers – Use chocolate cake mix as your base for rich, chocolatey monsters.
Gluten-free option – Simply substitute with your favorite gluten-free cake mix.
Natural coloring – Use beet juice for pink, turmeric for yellow, or spinach powder for green if you prefer natural alternatives.
Kitchen Tips & Tricks
Let me share some wisdom I’ve gathered from years of making these delightful treats. First, don’t skip the chilling step – I learned this the hard way when my first batch spread too much because I was too eager to get them in the oven.
When it comes to food coloring, start with just a few drops and add more gradually. It’s much easier to add color than to take it away. I once made a batch that looked more like alien cookies because I got a little too enthusiastic with the green coloring!
Make sure your cream cheese and butter are truly softened before mixing. Cold ingredients won’t cream properly and can leave you with lumpy dough. If you’re in a hurry, cut your butter into small pieces to help it soften faster.
Storage & Make-Ahead Tips
These colorful monster cookies stay wonderfully soft when stored in an airtight container at room temperature for up to a week. Layer them between parchment paper to prevent sticking.
You can absolutely make the dough ahead of time – it keeps beautifully in the refrigerator for up to three days. Just let it come to room temperature before rolling if it gets too firm.
For longer storage, freeze the baked cookies for up to three months. They thaw perfectly and taste just as fresh as the day you made them.
More Halloween Recipes:
- Halloween Chex Mix Recipe
- Eyeball Halloween Cupcakes
- Carrot Cupcakes Recipe
- Pumpkin Cupcakes
- Libby’s Pumpkin Roll Recipe
Frequently Asked Questions
Absolutely! Any food coloring works beautifully. Gel coloring tends to give more vibrant results without thinning the dough.
No worries! You can use mini chocolate chips, small pieces of white chocolate, or even make your own eyes with white chocolate and dark chocolate chips.
This usually happens when the dough isn’t chilled enough or the oven temperature is too low. Make sure to chill for the full 30 minutes.
The cream cheese gives these cookies their special texture, but you can substitute with an additional 1/2 cup of softened butter if needed.
Final Thoughts
These monster cookies represent everything I love about baking – they’re simple enough for beginners, fun enough for kids, and delicious enough to make adults feel like children again. It’s not fancy, but it’s full of love.
Every time I make these colorful treats, I’m reminded that the best recipes are the ones that bring people together. Whether you’re baking with grandchildren, surprising coworkers, or just treating yourself to something whimsical, these little monsters are guaranteed to spread joy.
Cook with feeling, not just timing, and don’t be afraid to let your creativity shine through. After all, no two monsters need to look exactly alike – that’s what makes them special.
Thanks for being in my kitchen today. I hope these sweet little creatures bring as much happiness to your home as they have to mine.
If you give Colorful Monster Cookies Recipe a try, I’d love to hear how it turned out!
Please take a moment to leave a rating and a quick review—it really helps us keep sharing free, delicious recipes you can trust.
Colorful Monster Cookies Recipe
- Prep Time: 10 minutes
- Cook Time: 10 minutes
- Total Time: 20 minutes
- Yield: 24
- Category: Dessert
- Method: Baking
- Cuisine: American
Description
Fun, colorful, and gooey monster cookies with candy eyeballs — perfect for parties or Halloween treats!
Ingredients
- 1 box white cake mix
- 1/2 c butter (softened)
- 1/2 tsp vanilla extract
- 8 oz cream cheese (softened)
- 1 egg
- powdered sugar
- food coloring (I used NEON food coloring to make them more vibrant)
- candy eyeballs
Instructions
- Beat butter, vanilla, egg and cream cheese until fluffy.
- Mix in cake mix. Divide batter into bowls for the amount of colors you want.
- Add food coloring to each individual bowl and mix until all combined.
- Chill for 30 minutes.
- Roll into balls and dip in a bowl of powdered sugar.
- Place on greased cookie sheet and pat down a bit.
- Bake at 350 for 10-12 minutes.
- Add candy eyeballs while cookies are still warm. ENJOY!
Notes
Use neon food coloring for vibrant cookies. Add candy eyes while cookies are warm so they stick.
Nutrition
- Serving Size: 1 cookie
- Calories: 69 kcal
- Sugar: 1 g
- Sodium: 67 mg
- Fat: 7 g
- Carbohydrates: 1 g
- Protein: 1 g